Getting Started on a Fence Post Project
June 16, 2025 1:22 pm Leave your thoughtsBuilding a fence can be one of the most rewarding DIY projects for homeowners, ranchers, or anyone needing to delineate space for practical or aesthetic reasons. The backbone of any sturdy fence is the humble fence post. Whether you’re trying to protect your garden from critters, establish property lines, or simply enhance your yard’s visual appeal, understanding the ins and outs of installing fence posts is essential. This guide walks you through everything you need to know, especially when setting new fence posts in summer, ensuring your project is successful from start to finish.
The Role of Fence Posts
Fence posts provide the structural integrity of a fence. They support the rails and panels and ensure your fence remains upright and secure through all weather conditions. A misaligned or poorly set fence post will eventually compromise the entire fence system, leading to sagging panels, leaning sections, and costly repairs. Therefore, investing time in properly preparing fence posts in summer time is critical.
There are several types of fence posts to choose from depending on your needs—wood, metal, and even composite materials. Wooden fence posts, while traditional and aesthetically pleasing, can be vulnerable to rot and insects if not properly treated. Metal posts, often used in chain-link fencing, are highly durable and resistant to environmental wear. Choosing the right type of post should be based on your specific environment, fencing needs, and budget. Regardless of your choice, the installation technique plays a far more critical role in longevity than the material alone.
Planning Your Fence Post Layout
Before you break ground, planning your layout is essential. Take time to measure your property boundaries precisely—preferably with a land survey if one hasn’t been done recently—to avoid legal headaches later. Once your perimeter is defined, use marking paint or stakes and string to outline where your fence will go.
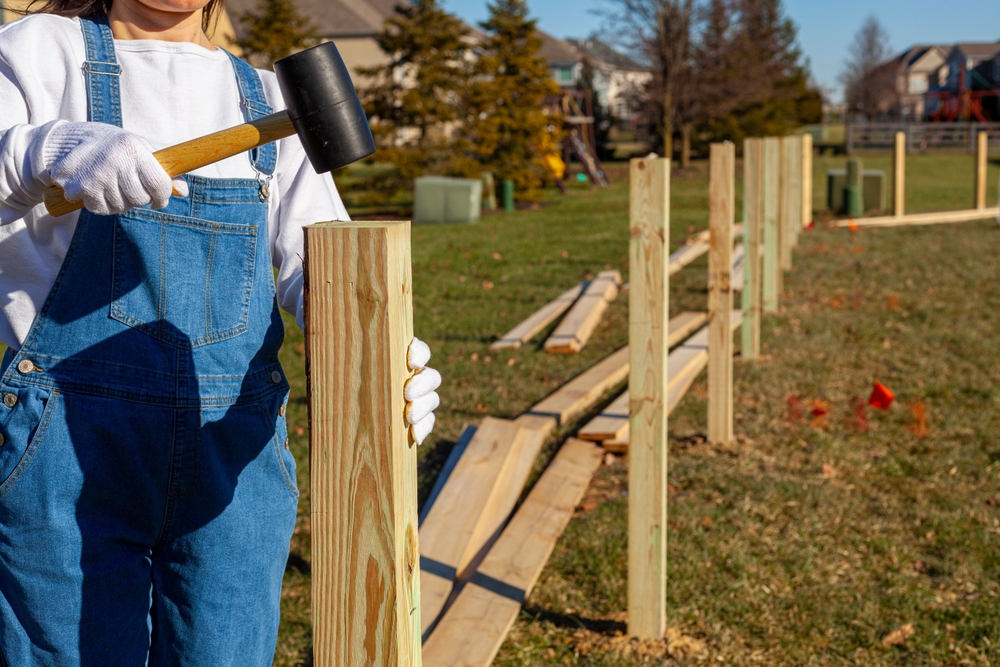
Spacing between fence posts usually ranges from 6 to 8 feet, depending on the type of fencing you’re installing. Closer spacing offers greater support and resilience against wind and pressure. In areas with high wind or where you’re installing heavier fencing materials, reducing the space between posts to 6 feet is advisable. Keep in mind that evenly spaced posts not only provide stability but also make your fence look uniform and professional.
If you’re setting new fence posts in summer, be aware of how seasonal weather patterns can impact your measurements. Soil expands in the heat and contracts in the cold, so consider the natural movement of the ground as you plan. Marking your post holes carefully at this stage reduces the risk of mid-project rework.
Digging and Preparing the Post Holes
With your layout marked, it’s time to dig. In most regions, the recommended depth for fence post holes is one-third the height of the post above ground. So, for a 6-foot fence, you’ll need posts at least 9 feet long, and you’ll be digging about 3 feet deep. The hole’s diameter should be three times the width of the post—this allows ample space for gravel and concrete, which provide critical stability.
One of the key advantages of preparing fence posts in summer time is that the ground is typically dry and easier to work with. However, in extremely dry regions, you may encounter hardened soil, which could require a power auger or post-hole digger. Avoid digging when the soil is overly wet or muddy, as it can make it difficult to set the posts firmly, and wet soil doesn’t support weight well.
A vital but often overlooked step is adding gravel to the base of each hole. Pour 6 inches of gravel and compact it firmly to create a stable and well-draining foundation. This helps prevent water from pooling at the base of the post, which could lead to rot in wooden posts and corrosion in metal ones. The gravel layer essentially acts as a natural drainage system, critical for prolonging the life of your fence.
Setting the Posts: Concrete vs. No-Concrete Methods
Once the holes are prepared, the next decision is how to set your fence posts. The most common and reliable method is using concrete. Concrete provides a solid, unmoving anchor that supports the post against wind, rain, and physical impact. This is especially important when setting new fence posts in summer, as high temperatures can cause expansion and contraction in materials, and a secure base mitigates those effects.
To set posts in concrete, position the post in the center of the hole and pour the mixed concrete around it, ensuring the post remains level and plumb. Use a spirit level for accuracy. Let the concrete cure for at least 24 to 48 hours before attaching rails or panels. It’s also advisable to taper the top of the concrete away from the post so rainwater flows away rather than pooling.
Alternatively, some opt for a no-concrete method, especially in sandy or well-draining soils. This approach involves compacting soil or gravel around the post in layers. While less permanent and easier to remove later, these posts are generally less sturdy over time. Still, for temporary fences or fencing in low-impact areas, this method can be cost-effective and efficient.
If you’re preparing fence posts in summer time, consider working in the early morning or late evening to avoid high midday temperatures that can affect both your energy levels and the curing process of concrete. Heat accelerates curing, which might lead to cracks or weak bonding if not managed carefully.
Finishing Touches and Maintenance Tips
After your posts are set and the concrete is cured, it’s time to finish the fence. Whether you’re installing wooden rails, wire mesh, or panels, ensure that all components are level and properly secured. Using galvanized screws or nails prevents rust, especially in humid climates.
Apply a weatherproof sealant to wooden posts, even pressure-treated ones, to protect against moisture and UV damage. Regularly inspect your fence, especially after storms or extreme weather changes, and check for any signs of shifting, rot, or damage. A bit of maintenance now and then goes a long way in extending the life of your fence.
One final pro tip: make sure to leave a gap between the bottom of your fence panels and the ground. This prevents moisture from accumulating and deters pests from nesting under the fence. Additionally, it’s wise to maintain vegetation around your fence to prevent vines or roots from exerting pressure on the structure over time.
If your fence borders a shared property line, it’s always good practice—and sometimes legally necessary—to discuss your plans with your neighbor beforehand. Not only does it prevent disputes, but in some cases, neighbors might be willing to split the cost if the fence benefits both properties.
Conclusion
Setting new fence posts in summer is an excellent time to begin a fence post project. The favorable weather allows for optimal working conditions and proper material curing. By understanding the fundamentals—from planning and layout to digging and securing posts—you can ensure a fence that is both functional and attractive for years to come.
Fence posts may seem like a small component, but they form the backbone of any successful fencing project. With thoughtful preparation, careful execution, and attention to detail, you’ll not only set strong fence posts but also lay the groundwork for a durable and beautiful fence that stands the test of time. Whether you’re a seasoned DIYer or a beginner tackling your first outdoor project, mastering the art of fence post installation is a valuable skill that pays dividends in both property value and personal satisfaction.
Need a Small Log Supplier in Lapoint, UT?
Categorised in: Fence Posts
This post was written by admin